Have you ever admired those exquisitely crafted beaded brooches adorning jackets and bags, wishing you could create your own? Well, now you can! This tutorial will guide you through the surprisingly simple process of making your own stunning beaded brooch, perfect for adding a touch of handmade elegance to your wardrobe or gifting to a loved one. Forget expensive boutique prices and embrace the joy of crafting a unique accessory that reflects your personal style. This isn’t just about following instructions; it’s about unleashing your creativity and discovering a new, rewarding hobby.
We’ll be using readily available materials to create a beautiful, eye-catching brooch, even if you’re a complete beginner. No prior beading experience is necessary! Let's dive into the step-by-step instructions below and transform simple beads into a dazzling piece of jewelry.
Preparation and Safety Guidelines
- 8 mm Chaton or Pearl cabochon
- 4 mm fire polish beads
- Delica beads
- 3 mm bugle beads
- 11/0 seed beads
- 15/0 seed beads
- Filigree with pin back
- Needle
- 6 lb fireline thread
- Always use sharp, high-quality beading needles to prevent bent needles and frustration. Avoid using dull needles which can break or snag threads and beads.
- Be mindful of small parts. Keep beads and findings out of reach of children and pets to prevent choking hazards.
- When using wire, use appropriate wire cutters to avoid injuries from sharp edges. Always cut away from yourself.
Step-by-Step Instructions
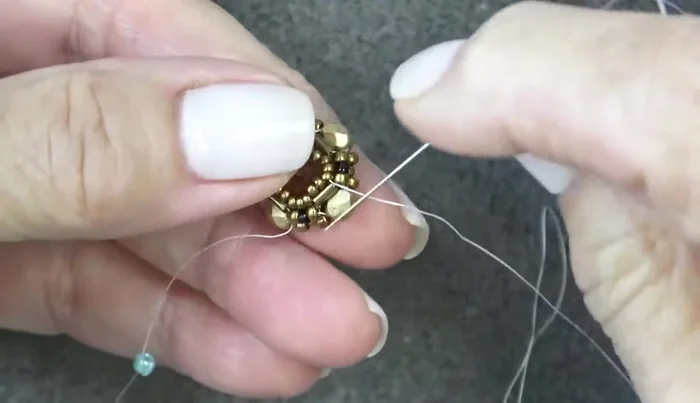
Create the Beaded Base
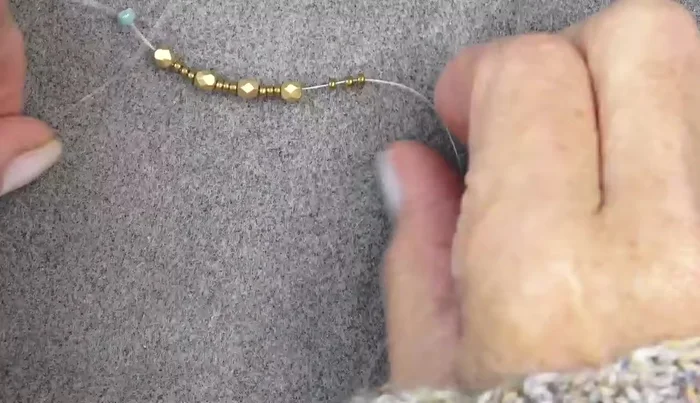
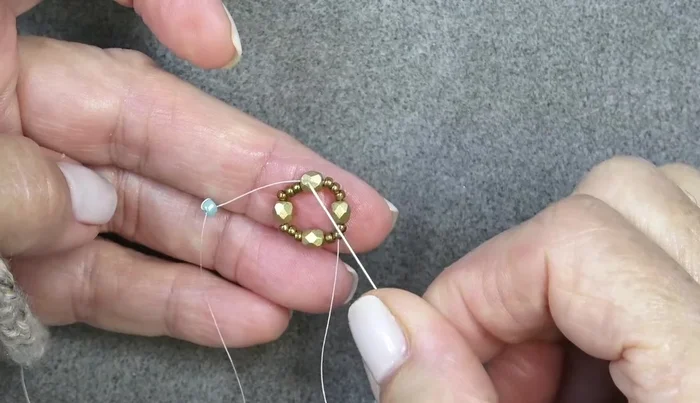
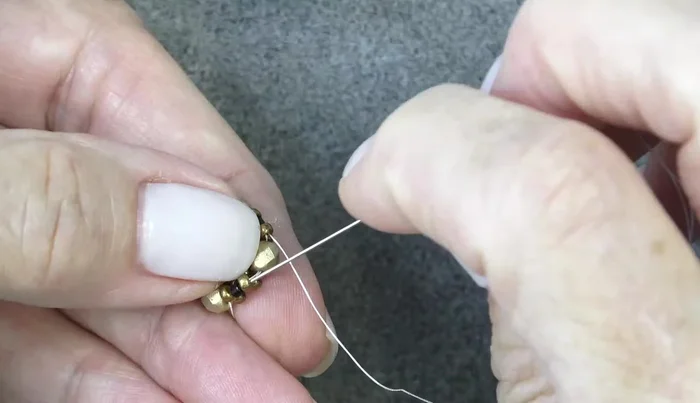
- Create a circle of four sets of 4 mm fire polish beads and three 11/0 seed beads.
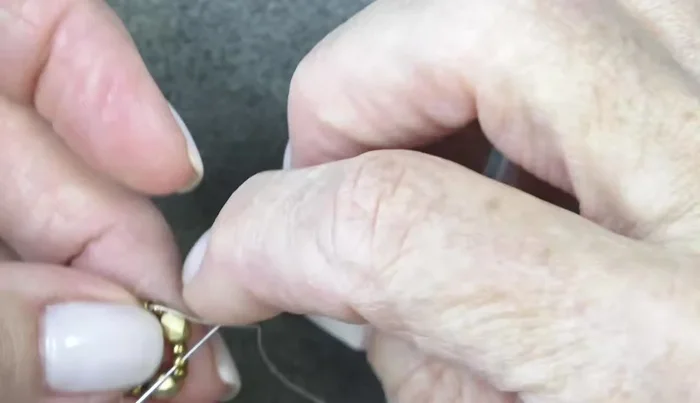
- Reinforce the circle by sewing around it.
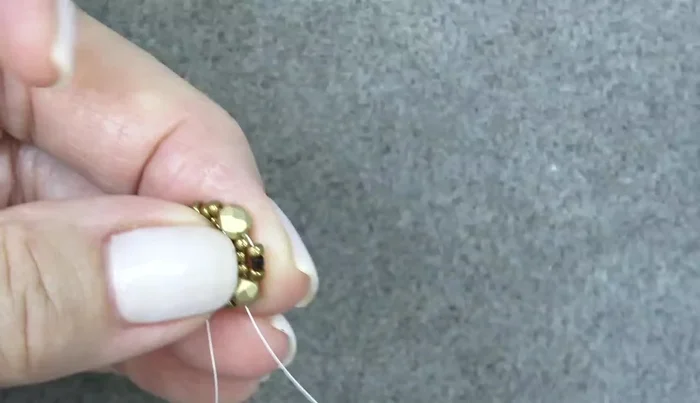
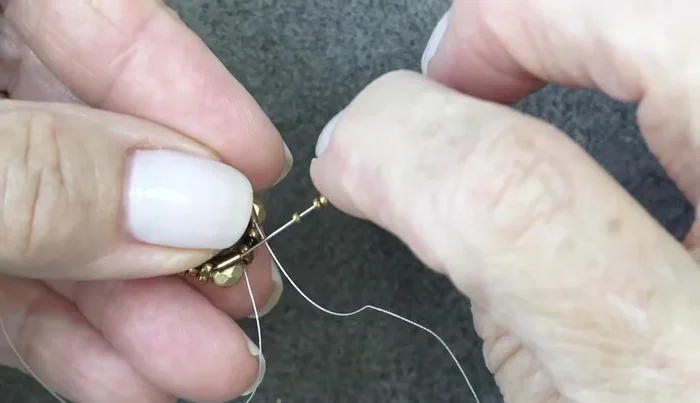
- Add five 15/0 seed beads, exiting the middle seed bead of a group of three 11/0s. Repeat this step three more times.
- 11/0, Delica, 11/0 around each fire polish bead, pushing them in front of the fire polish beads.

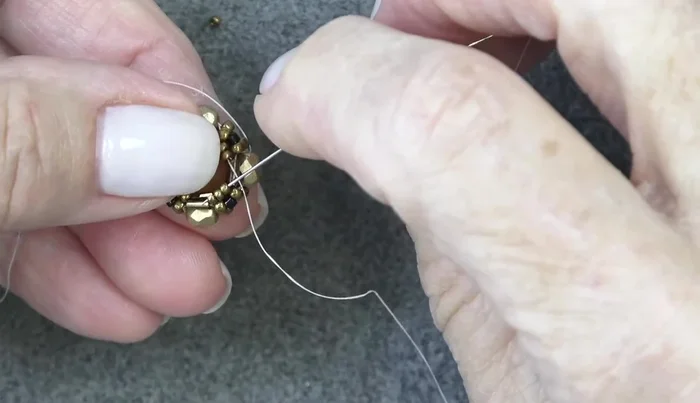
Create the Beaded Base - Add bugle beads, exiting one group of 11/0, Delica, 11/0 and sewing through the next. Repeat three more times.
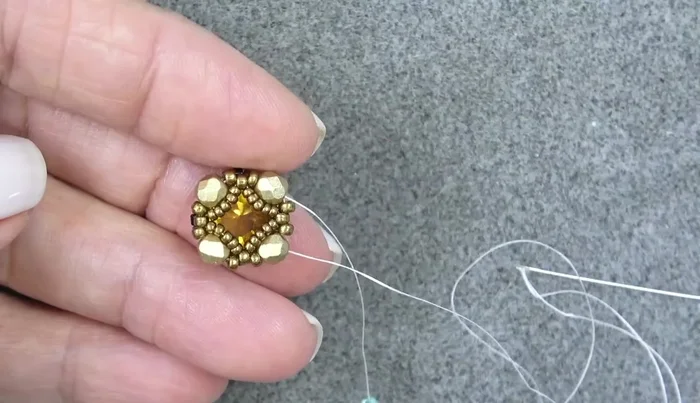
Create the Beaded Base Secure the Stone
- Place the stone face down into the center of the beaded base.
- Add three 15/0 seed beads to secure the stone, exiting the bugle bead and sewing through the next bugle bead. Repeat two more times.
- Add two 15/0 seed beads, exiting three 15/0s and sewing through the next three. Repeat two more times.
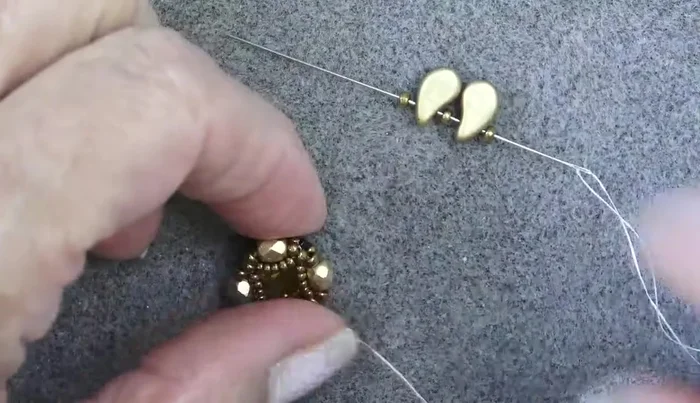
Secure the Stone Complete the Bezel
- Reinforce the back of the bezel.
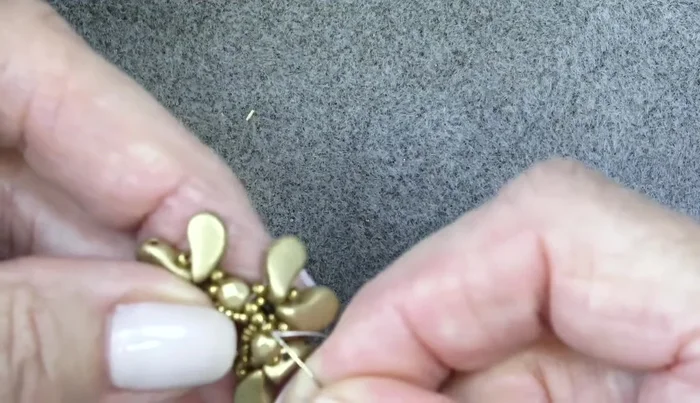
- Add 11/0, Paisley Duo, 11/0 around each fire polish bead. Repeat until all fire polish beads are surrounded.
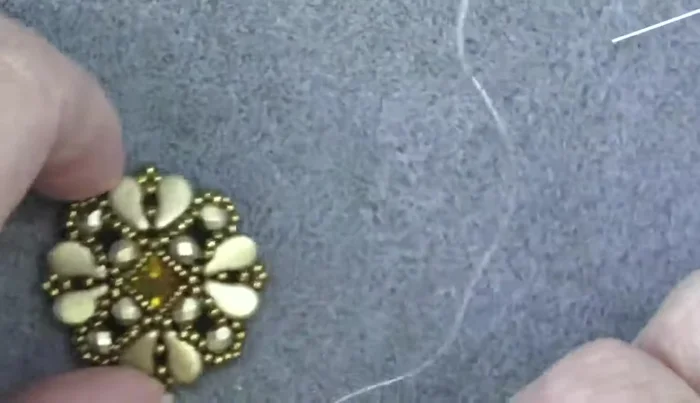
- Add a final round of 11/0 seed beads to complete the bezel. Shape and adjust as needed.
Complete the Bezel Attach the Backing
- Attach the filigree backing using glue.
Attach the Backing
Read more: DIY Wonky House Brooches: The Fastest & Easiest Method
Tips
- Don't pull the thread too tight while working.
- Place the cabochon face down.
- Press the finished bezel into desired shape before attaching the backing.