Love the look of beaded bracelets but intimidated by complex patterns? This tutorial will show you how to create stunning beaded bracelets with ease using the incredibly simple one-step looper method! Forget fiddly knots and complicated techniques – this method is perfect for beginners and experienced crafters alike, offering a quick and satisfying way to transform beads into beautiful jewelry. It’s incredibly versatile, allowing you to experiment with different bead colors, sizes, and materials to create truly unique pieces. You'll be amazed at how quickly you can produce professional-looking results.
This incredibly efficient technique streamlines the entire process, reducing the steps to a single, repetitive action. Get ready to be captivated by the simplicity and elegance of the one-step looper method, and prepare to be amazed at the beautiful bracelets you'll create! Ready to get started? Let's dive into the step-by-step instructions below.
Preparation and Safety Guidelines
- 8mm turquoise beads (or any size beads)
- Toggle clasp or lobster claw clasp with jump ring
- 20 gauge gold-plated wire (or 22 gauge for smaller beads)
- Chain nose pliers
- Flush cutters
- One-step looper
- Always supervise children when using small beads and craft wires. Beads pose a choking hazard.
- Be mindful of sharp ends of wire or tools. Use caution to avoid cuts or scratches.
- If experiencing eye strain, take breaks frequently. Proper lighting is important for detailed work.
Step-by-Step Instructions
Prepare the Wire
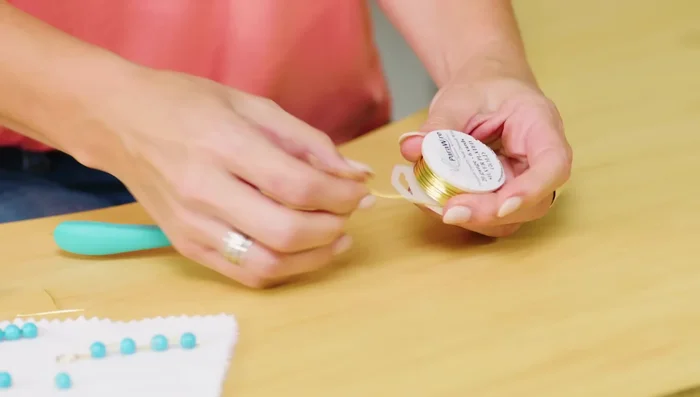
- Cut a manageable length of 20-gauge wire.
- Use the one-step looper to create a loop at one end of the wire. Push the wire through the hole, squeeze, and remove.

Prepare the Wire Create a Beaded Connector
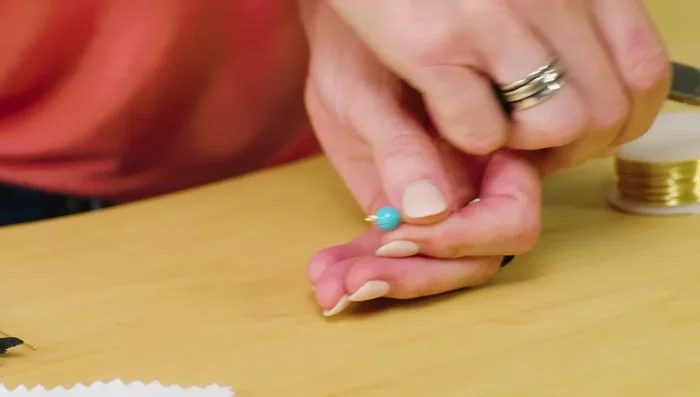
- Add a bead to the wire.
- Create another loop on the other side of the bead using the one-step looper.
Create a Beaded Connector Make Multiple Connectors
- Repeat steps 2-4 to create several beaded connectors.
Make Multiple Connectors Join Connectors to Form Bracelet
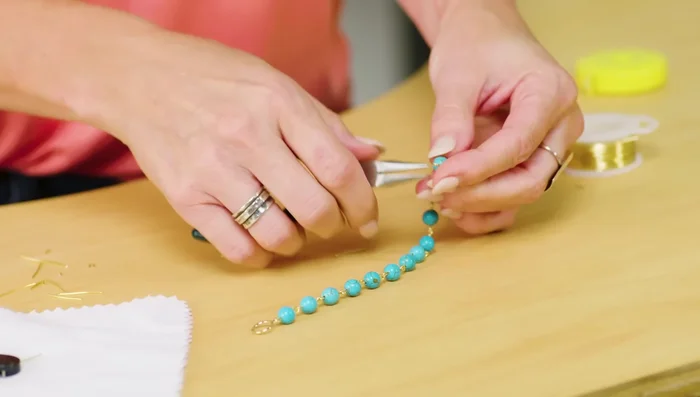
- Open the loops of two connectors using chain nose pliers, join them, and close the loops.
- Continue connecting the beaded connectors to create the desired bracelet length (approximately 7 inches before adding the clasp).
- Continue creating connectors until the desired bracelet length is reached.
Join Connectors to Form Bracelet Attach Clasp
- Attach one end of the clasp to an open connector.
- Attach the other half of the clasp to the final connector.
Attach Clasp


Read more: Elegant Russian Spiral Necklace Tutorial: A Step-by-Step Guide
Tips
- Always twist open and twist closed connectors; never pull them apart.
- Use a heavier gauge wire (20 gauge or higher) for open connectors to prevent the bracelet from easily coming apart.
- Aim for loops to face the same direction for a neater look. Ensure you turn the loop so it faces up when creating the second loop on a connector.
- Measure your wrist to determine the appropriate bracelet length. Connect the two ends of the bracelet and check if the connectors touch.