Ankara fabric, with its vibrant colours and bold prints, is a treasure trove of creative possibilities. More than just clothing, it lends itself beautifully to crafting unique and stylish accessories. This tutorial will guide you through the simple yet rewarding process of making your own Ankara brooch, a perfect addition to elevate any outfit or personalize a gift. Whether you’re a seasoned crafter or a complete beginner, you’ll be amazed at how easy it is to transform scraps of this beautiful fabric into a stunning piece of jewelry. You'll discover how to utilize readily available materials and straightforward techniques to create a bespoke brooch reflecting your personal style.
Forget expensive, mass-produced accessories! This DIY project empowers you to express your individuality through handmade artistry. From choosing your favourite Ankara print to attaching the final pin backing, each step is carefully explained to ensure a successful and enjoyable crafting experience. Ready to get started and create your own unique statement piece? Let's dive into the step-by-step instructions and begin crafting your beautiful Ankara brooch!
Preparation and Safety Guidelines
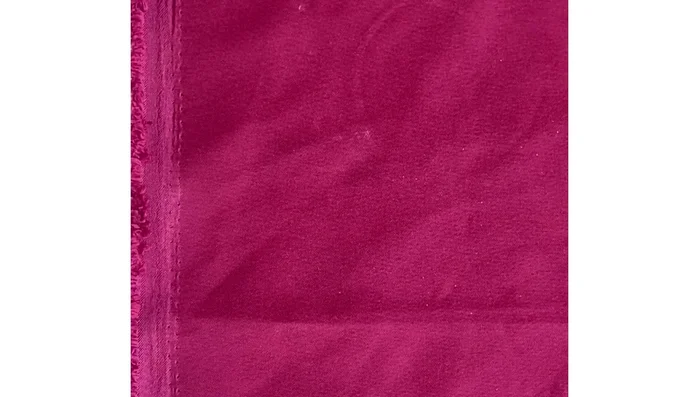
- Ankara fabric (satin used in video)
- Scissors
- Thread
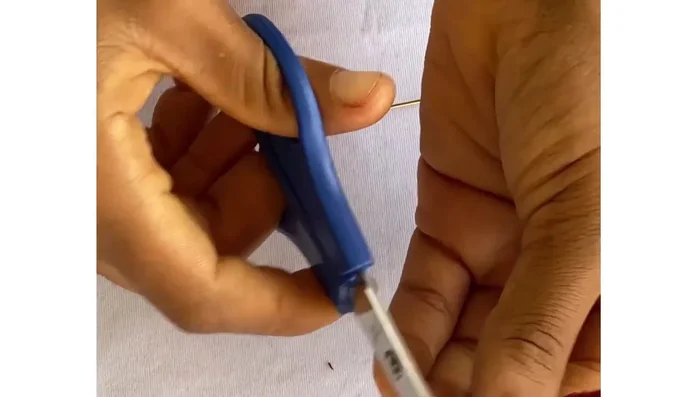
- Needle
- Glue
- Tape measure
- Chalk
- Pins
- Circular object (optional)
- Always use sharp scissors to prevent frayed edges and ensure clean cuts. Dull scissors can lead to uneven fabric and injury.
- Handle your needle and pins carefully to avoid accidental pricks. Keep them in a designated pincushion or container when not in use.
- If using hot glue, work in a well-ventilated area and avoid touching the glue while it's hot to prevent burns. Use a heat-resistant surface.
Step-by-Step Instructions
Prepare the Fabric
- Cut out eight circles from Ankara fabric. If you don't have a circular object, cut out a 4x4 inch square and follow the folding and cutting method shown in the video.

Prepare the Fabric Create Petals
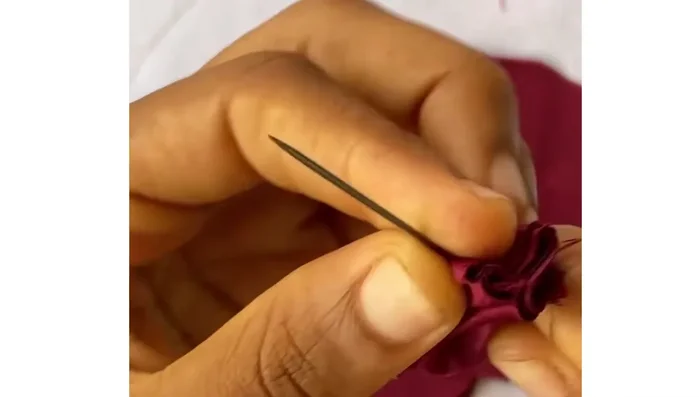
- Fold each circle into a semi-circle, then fold it in half again. Create a loose stitch on the tip of the resulting shape.
- Repeat the loose stitch process for all eight petals, creating an in-out-in-out stitch pattern.
Create Petals Assemble the Brooch Base
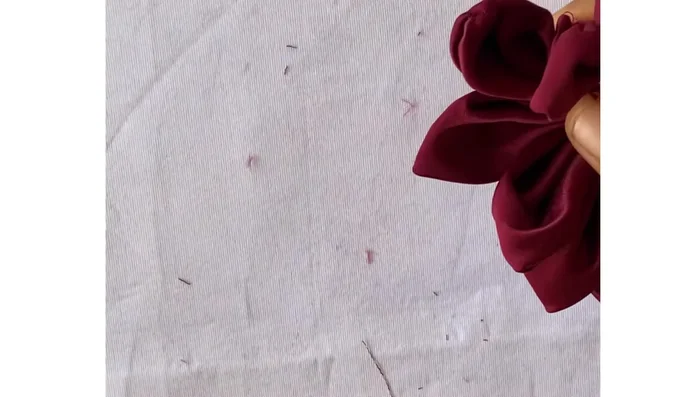
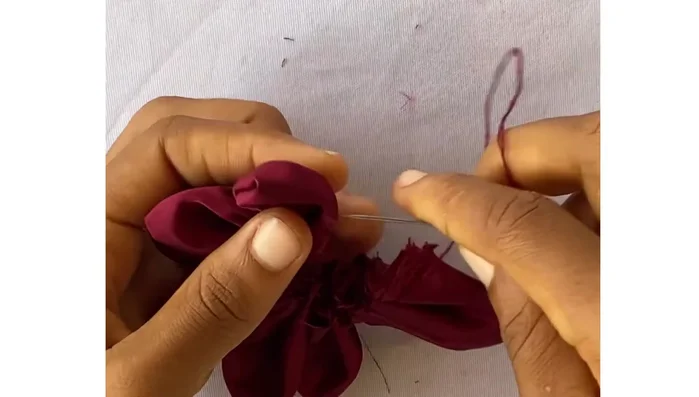
- Arrange the eight petals to look alike, ensuring a pleasing symmetrical appearance before tightly pulling your thread and knotting.
- Thread a needle and pass it through the first petal, pulling it through to join the circle and secure it. Arrange the petals well before pulling tight.
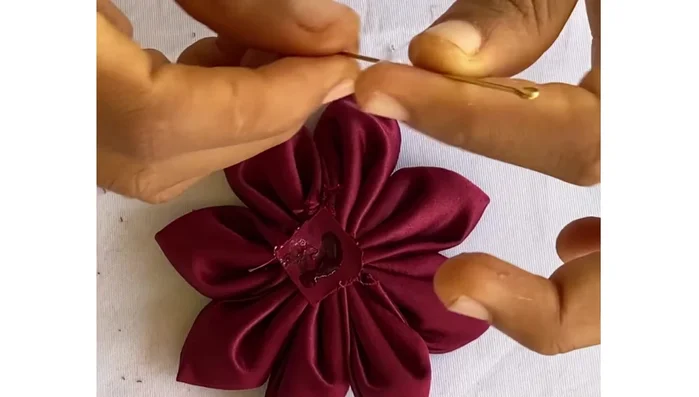
Assemble the Brooch Base Secure the Back
- Cut a small piece of fabric to cover the back of the brooch, gluing it in place to create a backing for your pin.
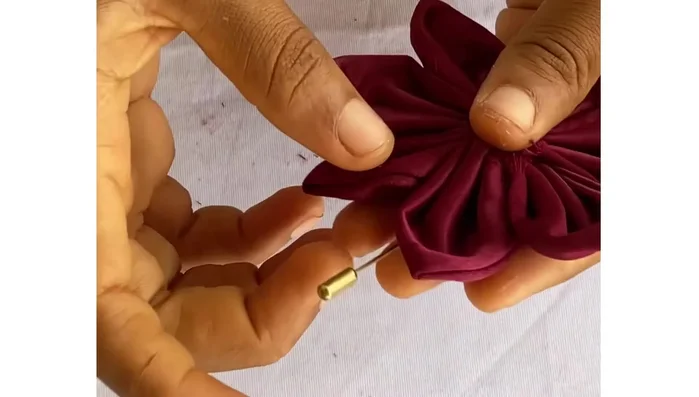
- Glue the pin to the back of the flower. Cover the pin with another small piece of fabric (or felt) to conceal it, securing it with glue.
Secure the Back Decorate and Finish
- Embellish the front of the brooch as desired.
Decorate and Finish
Read more: DIY Wonky House Brooches: The Fastest & Easiest Method
Tips
- Using a 4-inch diameter circular object will produce petals similar to those in the video. You can use different sizes for varied brooch sizes.
- Don't worry if the circles aren't perfect; slight imperfections add to the handmade charm.
- You can adjust the number of petals (6 or 4) for a different look.
- Use any type of strong adhesive glue to secure fabrics and the pin.