The 7mm round brilliant cut stone, with its dazzling fire and captivating brilliance, deserves a setting that truly showcases its splendor. A claw setting, particularly a meticulously crafted round basket setting, offers the perfect combination of elegance and security, allowing the gemstone to take center stage without being overshadowed by the metalwork. This delicate balance of artistry and practicality requires precision and skill, a challenge met by experienced jewelers and enthusiastic hobbyists alike. The intricate detail involved ensures a truly stunning finished piece.
This guide will walk you through the process of creating your own exquisite 7mm stone claw round basket setting, from initial planning and material selection to the final polishing. Prepare to delve into a step-by-step walkthrough, packed with detailed instructions and helpful illustrations, that will empower you to craft a breathtaking piece of jewelry.
Preparation and Safety Guidelines
- 8 centimeters of 1 millimeter thick round wire
- Steak or needle file handle (3.5 millimeters)
- Dividers
- Round nose pliers
- Protractor
- Flux
- Soldering equipment (butane torch or gas torch, solder)
- Ball burr
- Point nine mill drill
- Tapered burr or physio burr (1 mill)
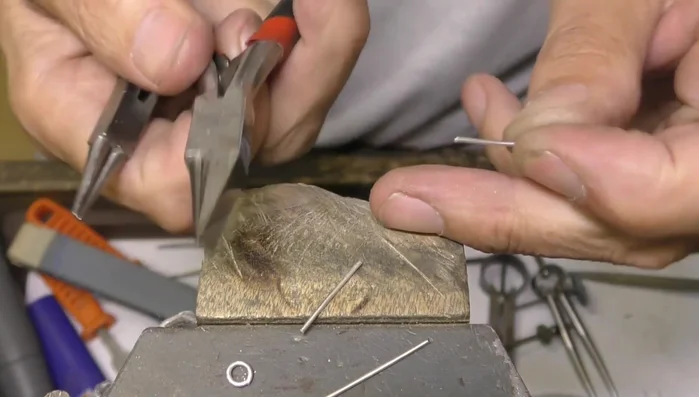
- End cutters
- Cup burr (2 mil)
- Brass pusher
- Always wear safety glasses to protect your eyes from flying metal particles during sawing, filing, and polishing.
- Use proper ventilation when soldering to avoid inhaling harmful fumes. A well-ventilated area or respirator is crucial.
- Handle sharp tools with extreme care. Use a bench pin or other stabilizing device to prevent accidental cuts or injuries.
Step-by-Step Instructions
Prepare the Setting's Base
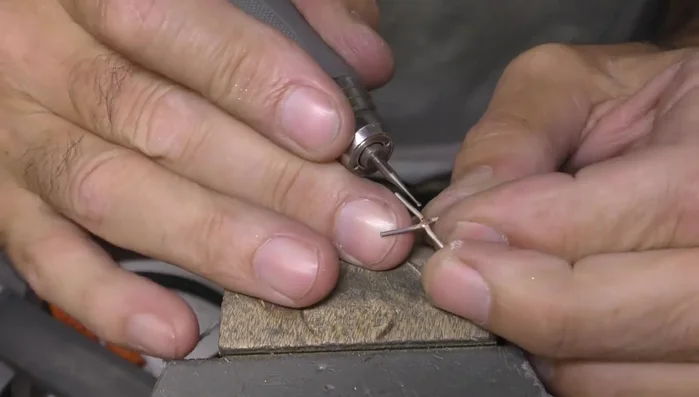
- Create the jump ring.
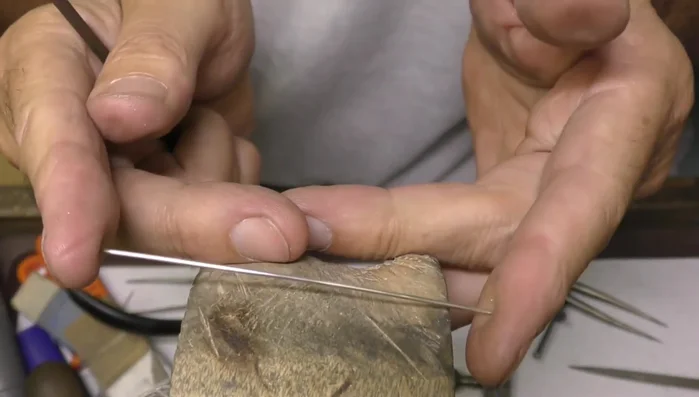
- Scratch off marks at 9 millimeters on the wire for half the setting.
- Double over the wire to create the other half of the setting.

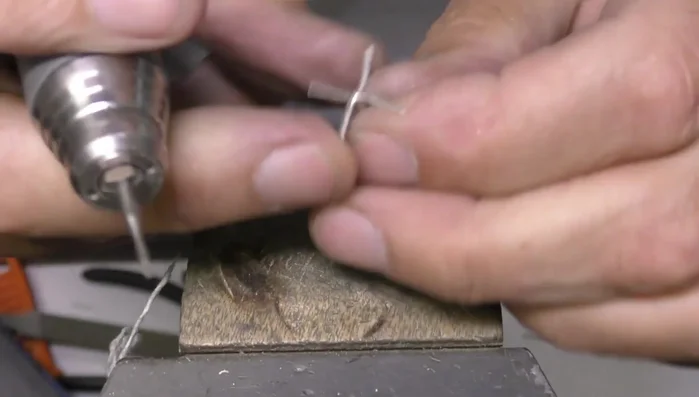
Prepare the Setting's Base Form and Attach the Claws
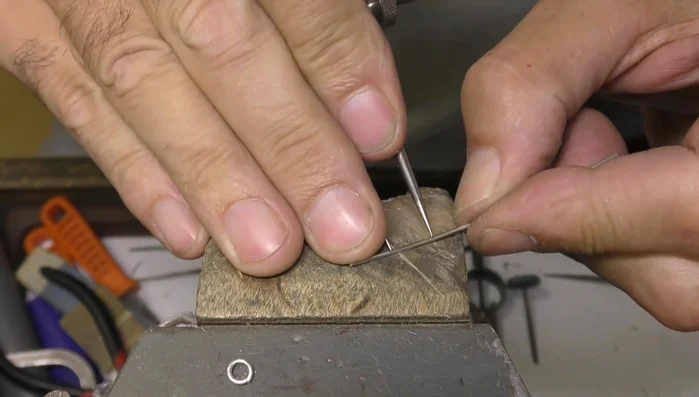
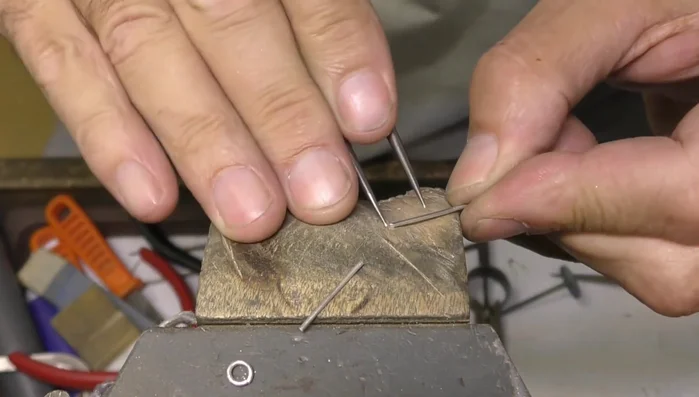
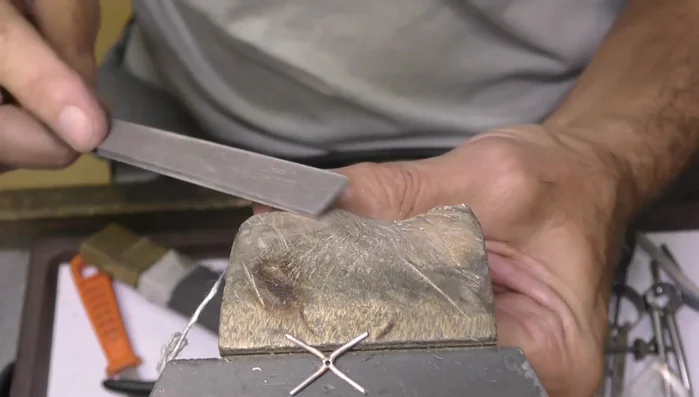
- Bend the wire using round nose pliers to form the claws, ensuring a 60-degree angle.
- Solder the claws together, aligning them carefully.
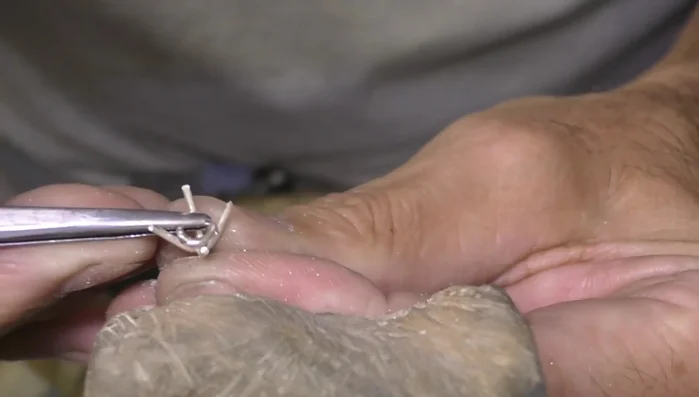
- Drill a hole for the stem, using a point nine mill drill (or slightly smaller if using thinner wire).
- Flatten the top of the setting.
Form and Attach the Claws - Solder the stem to the setting.
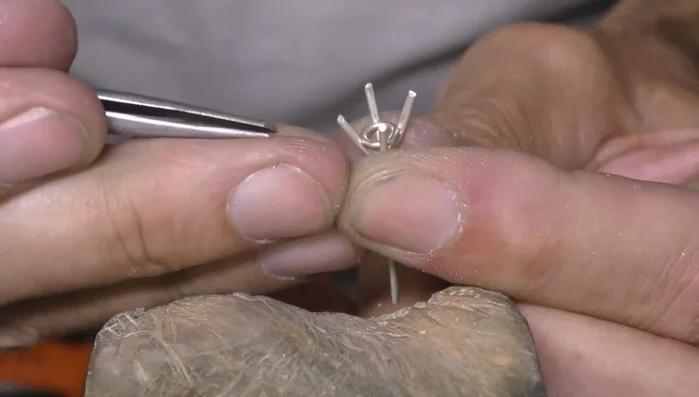
Prepare for Stone Setting
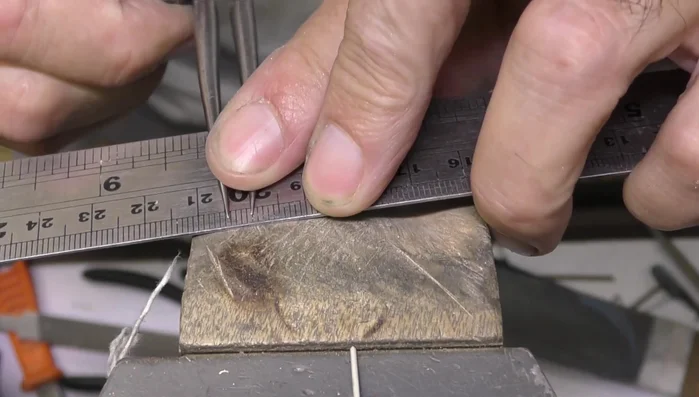
- Mark the inside of the setting for the seating cuts using dividers (set at 4.5 mm).
- Create seating cuts in the claws using a tapered burr, avoiding excessive depth.
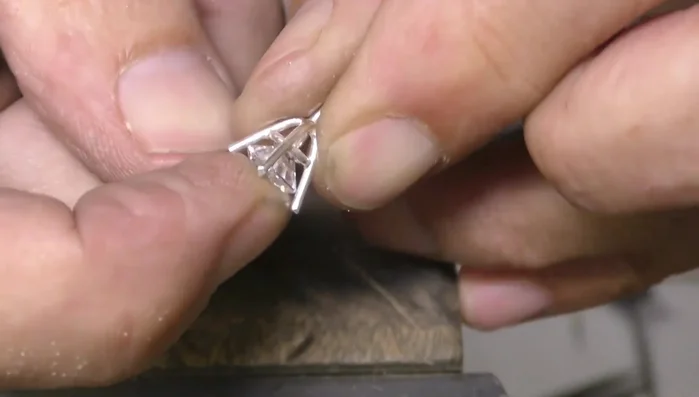
Prepare for Stone Setting Stone Setting and Final Adjustments
- Bend the claws into position, ensuring they are aligned evenly. Adjust as needed.
- Insert the jump ring into the setting.
- Solder the jump ring into place.
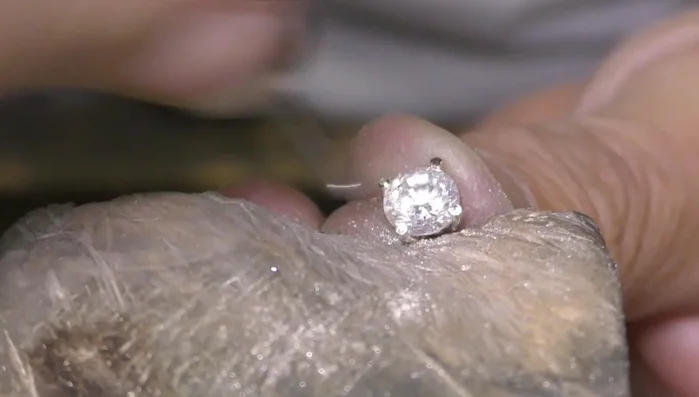
- Set the stone, making adjustments to ensure a snug fit.
Stone Setting and Final Adjustments - Finish the claws by using a cup burr to round the tips.
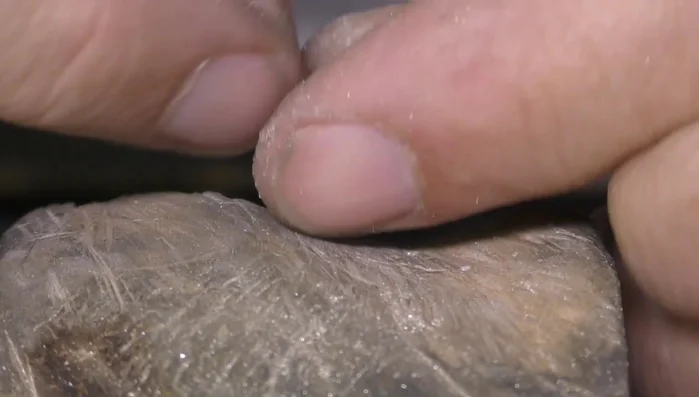
- Finish the stem by creating a stopper, then carefully cutting and smoothing the end.
Stone Setting and Final Adjustments

Read more: Twisted Wire Spiral Earrings: A Step-by-Step Guide
Tips
- Use half-hard metal to prevent excessive bending.
- If making earrings, double the wire length for each setting.
- For different stone sizes, adjust jump ring diameter accordingly (stone size - 1.5 mm).
- Keep the claws same length while bending.
- Friction fitting pieces before soldering reduces reliance on soldering equipment.